The popularity of resin bound patios has been growing in recent years. They are a low maintenance, durable and visually pleasing alternative to traditional pavers. Although there are many professional installations available, more and more homeowners are opting for resin bound patios as DIY projects. It’s a great way to save money and add a personal touch to the outdoor area you have.
Making your own resin bound patio could appear to be a daunting job but with the right equipment materials, and a bit of direction, it can turn out to be a rewarding and enjoyable project. Here are some suggestions and tricks that will help you create a stunning resin-bound patio for yourself.
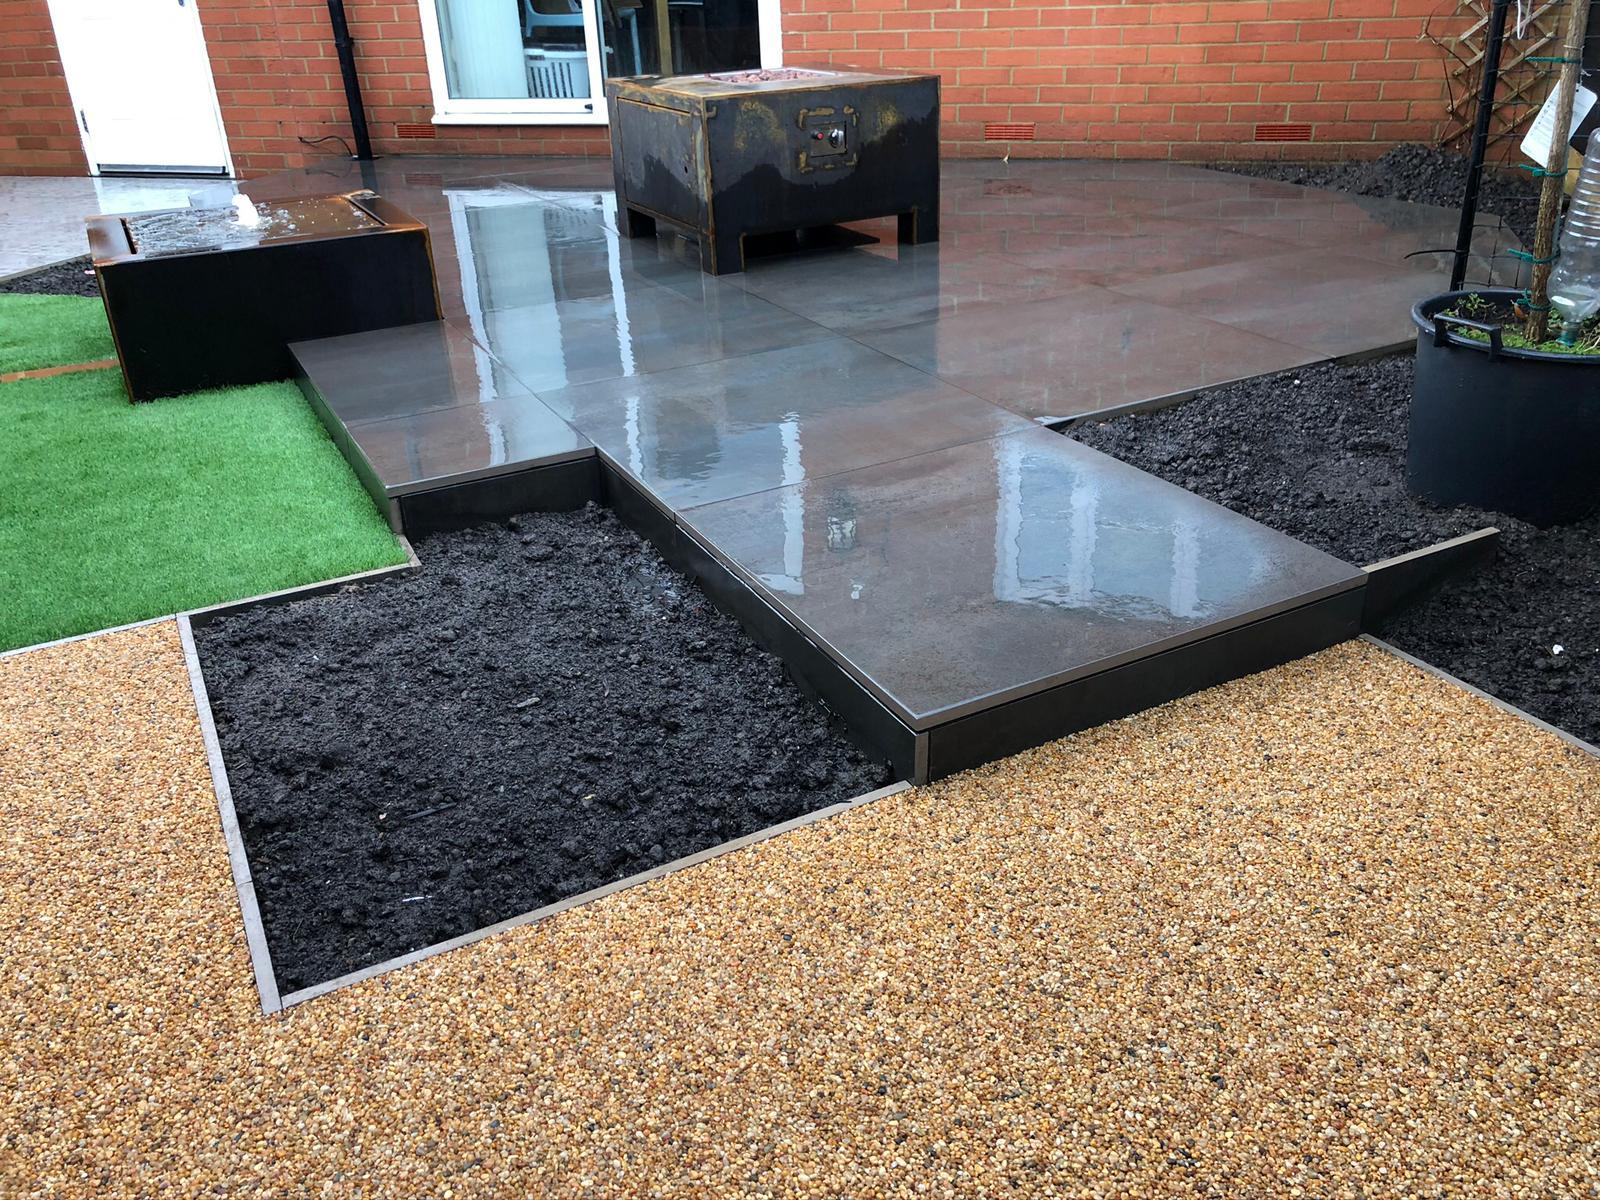
It is essential to understand what a resin-bound patio is. A resin-bound patio is a mix of natural aggregates, such as marble, stone or granite mixed with a transparent resin binder. The mix is rubbed onto a surface, and gives a non-slip surface.
One of the advantages of a resin bound patio is it can be put on a variety of surfaces like concrete, tarmac, or even block paving that is already in place. It is nevertheless important to make sure the surface is clean, free from dirt and in good working order.
Assessing the drainage requirements is essential prior to getting started on any surface work. The surface has to be sloped enough to allow water to drain away and drain out. This is crucial for areas that experience heavy rainfall. It is possible to build drainage channels or soakaways to facilitate drainage.
When the drainage requirements have been determined, it’s time to prepare the area for the resin bound patio. The surface needs to be thoroughly cleaned in order to remove any loose debris, moss and weeds. The final look of your patio could be affected by any damage to the surface like cracks.
The next step is to lay a sub-base that is typically made up of gravel or crushed stone. The layer needs to be compacted so that it’s solid and uniform. The sub-base must be at a minimum of 100mm thick for a firm foundation for the resin bound mix.
The resin-bound mix is mixed after the subbase layer and compacted. This involves mixing natural aggregates and the transparent resin binder using a mixer. To ensure that you get the perfect consistency, it is crucial to be sure to follow the manufacturer’s instructions.
Once the mixture is ready and ready to go, it is best troweled on the surface with an average thickness of 15-18mm. When applying the mixture it must be moved swiftly as in 30-40 mins the mixture will begin to harden. To make sure the surface is smooth and flat, a steel trowel can be used.
It is vital to allow the mixture to cure for a period of 24 to 48 hours after the application. This will ensure that the mixture is stable and fully set.
To keep its functionality and appearance, it is vital to keep clean and tidy the patio on a regular basis. A regular sweeping schedule is necessary to remove the debris. Power washing can be utilized to eliminate tough stains and marks.
The resin bound gravel kit is the easiest method to make your outdoor space. These kits are a quick and easy method of giving your patio, garden or driveway a new and modern look. They are not only aesthetically appealing, but also offer a durable and low-maintenance surface, which is ideal for homeowners who are busy. With a variety of colors and finishes, resin bound gravel can be adapted enough to suit any style and preference, whether elegant and contemporary or natural and rustic. In addition, the installation process is easy, which makes it an easy way to update your home’s exterior. Get rid of boring outdoor spaces and welcome attractive, functional areas using resin bound gravel kits.
You can increase the worth of your outdoor area with your own resin bound projects. It is vital to ensure that the surface is properly prepared, drainage requirements are analyzed and that the resin bound material is applied correctly. A beautiful patio made of resin can be achieved with the proper materials, tools, and perseverance.
For more information, click Resin Bound Patio Diy